Article by: Michelle Wibowo
What is Surfacing?
Surfacing in animated films is a process to create texture and materials of an object that mimics how it feels and how it reacts to light in reality. Each materials have different properties that react differently to light. Wool has no reflection and no glossiness, while metal is more reflective and glossy. Therefore, by creating accurate surface materials, the CG world will become more believable and easily recognized by the audience.
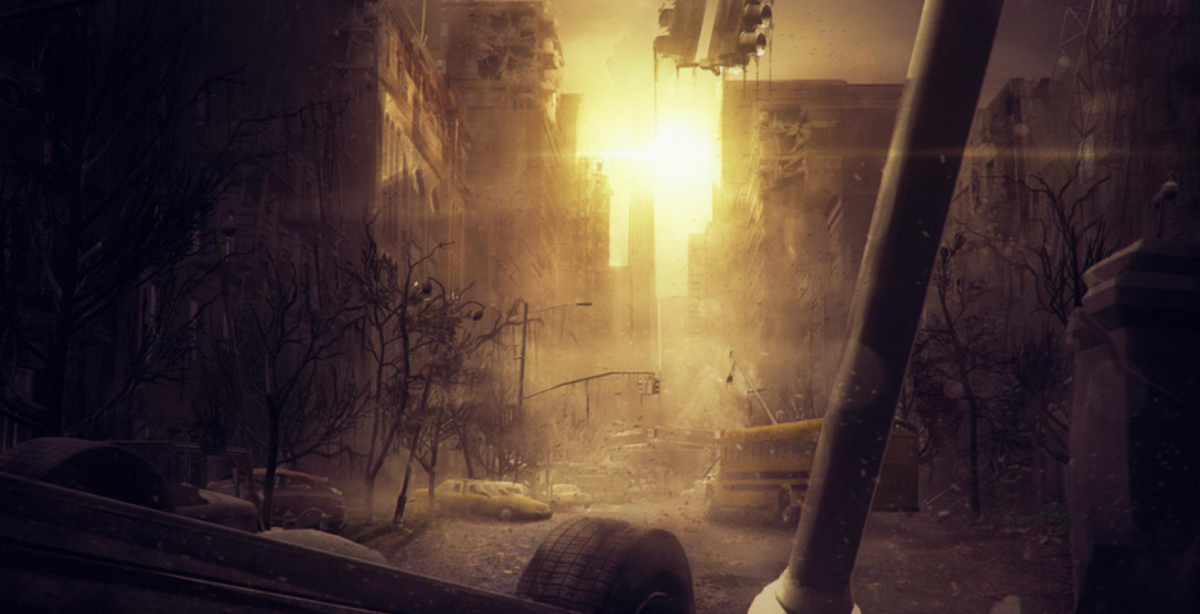
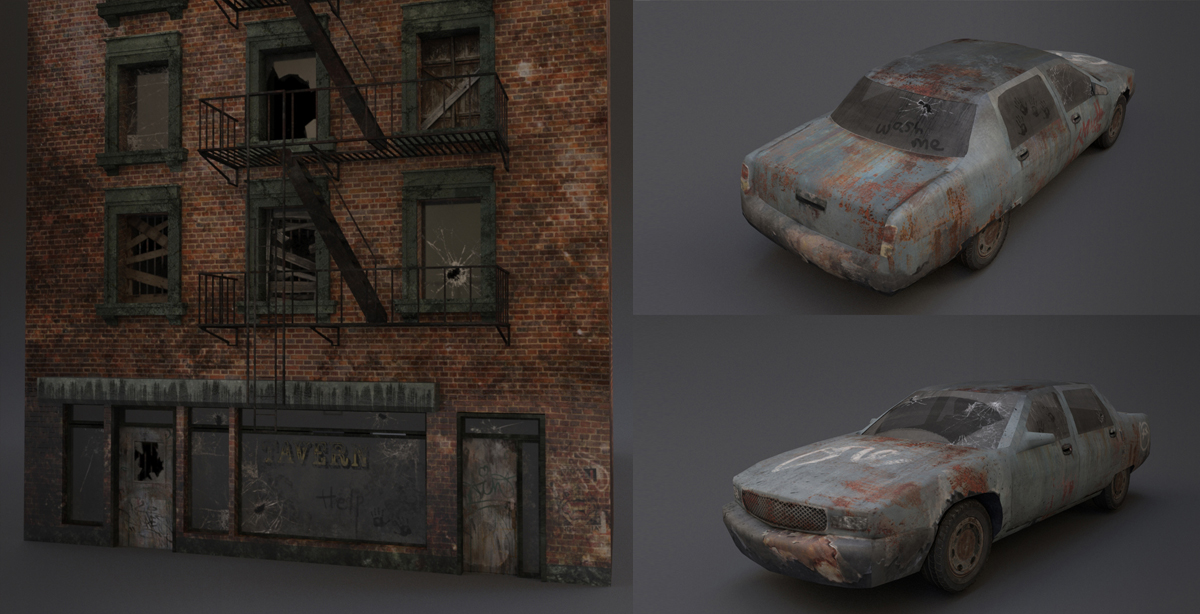
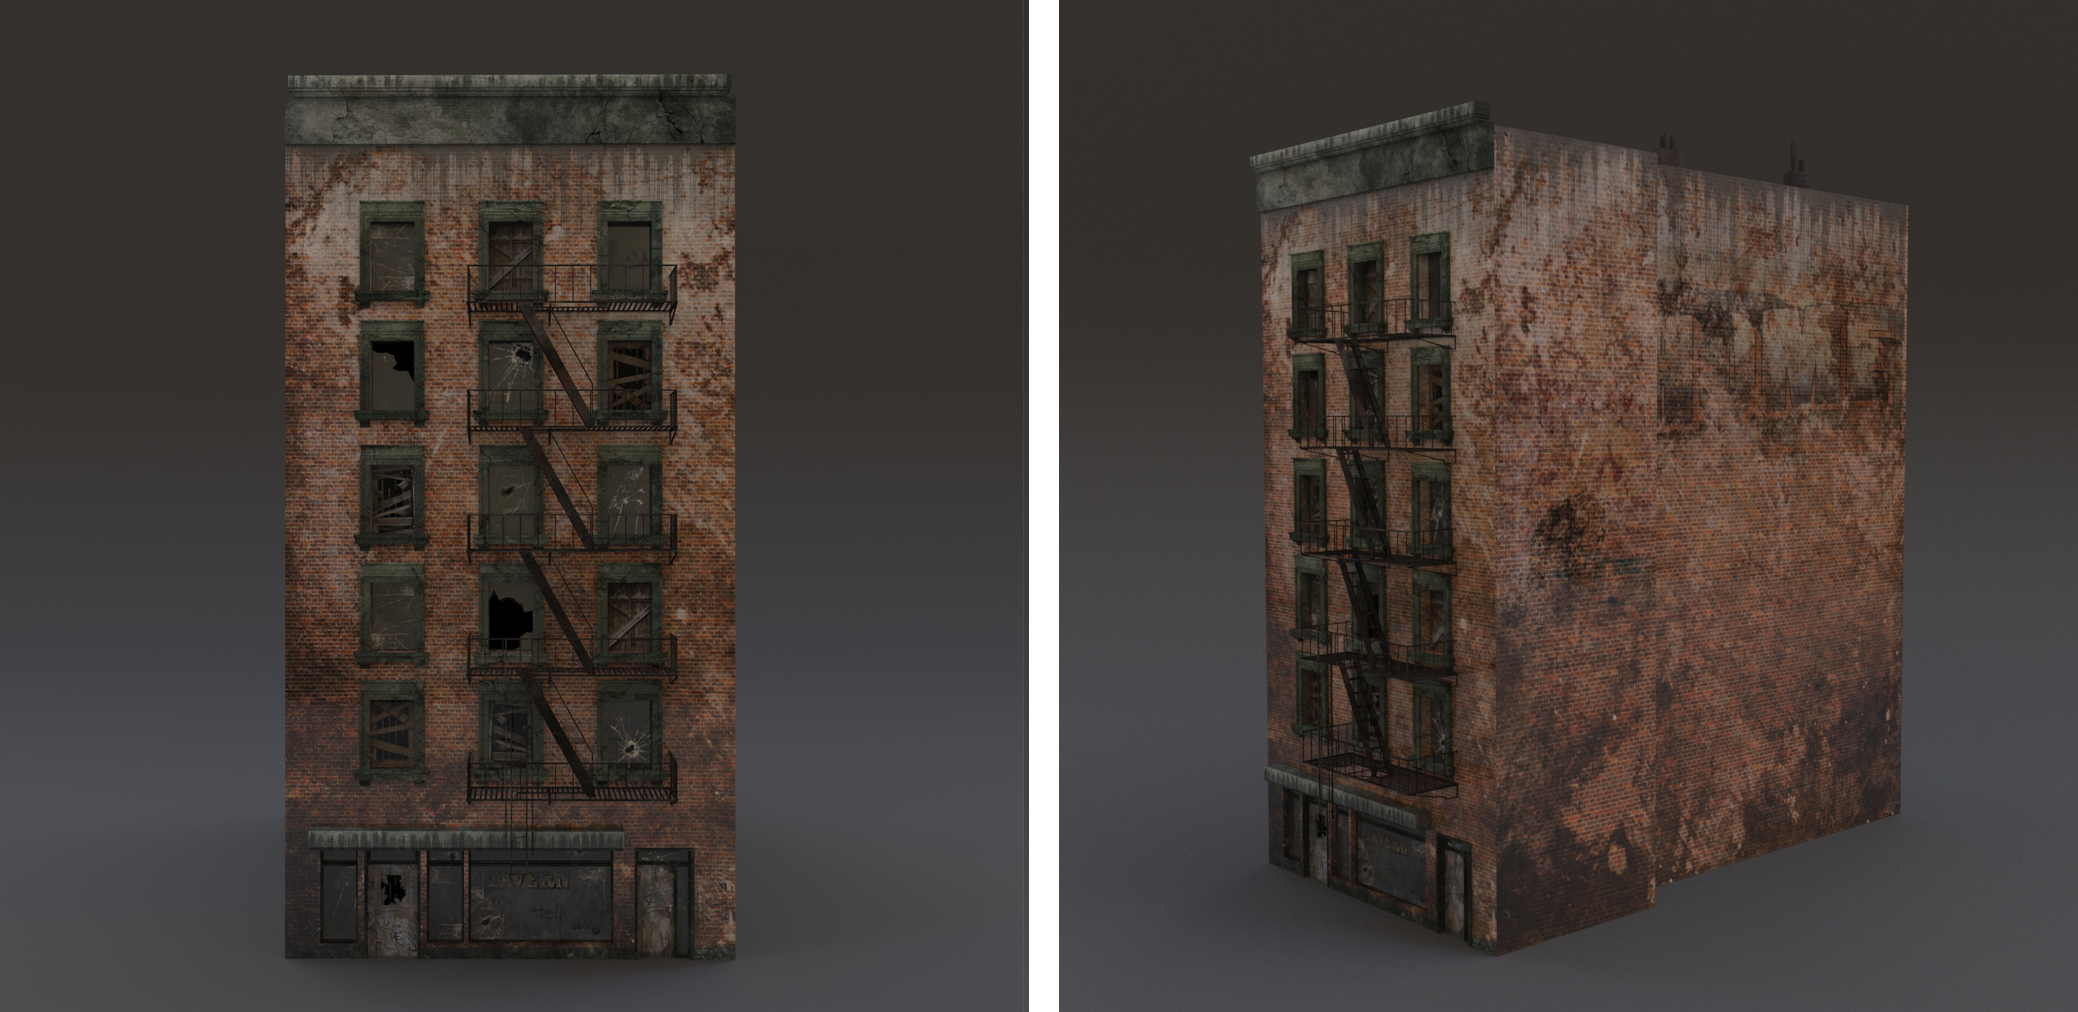
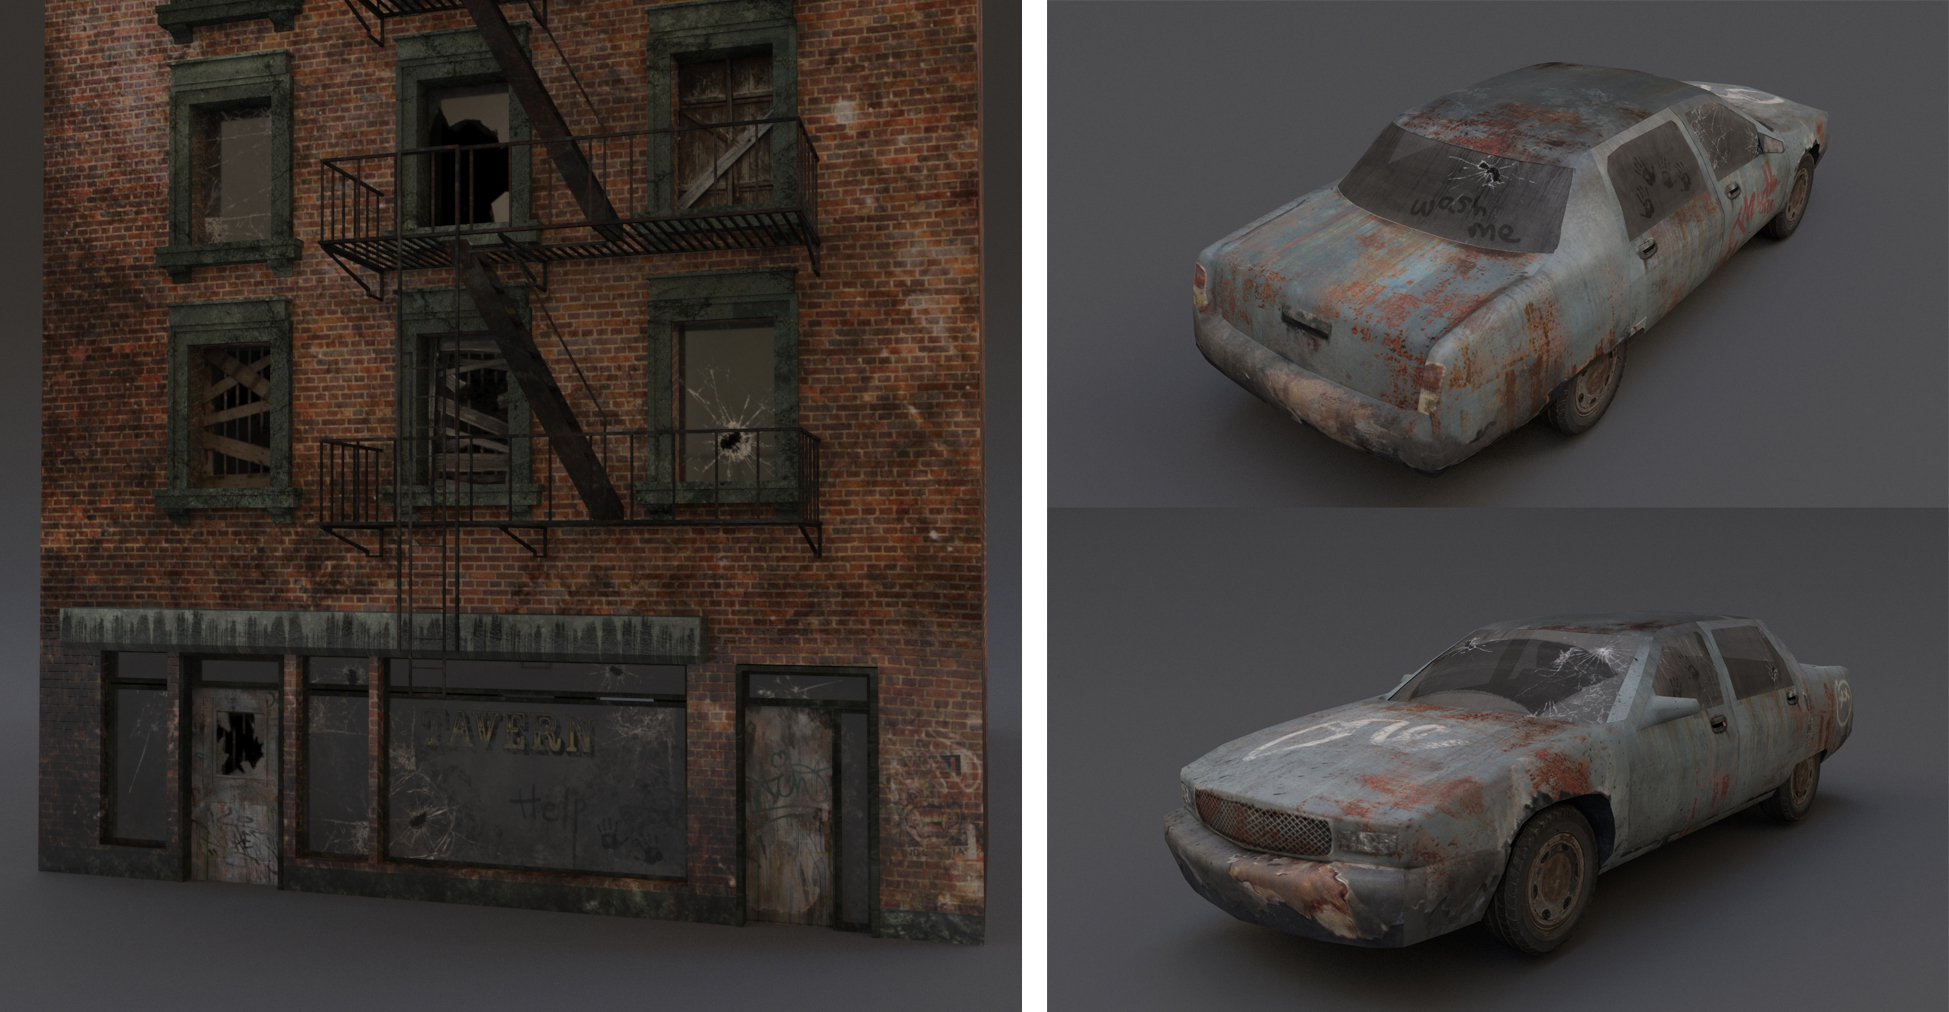
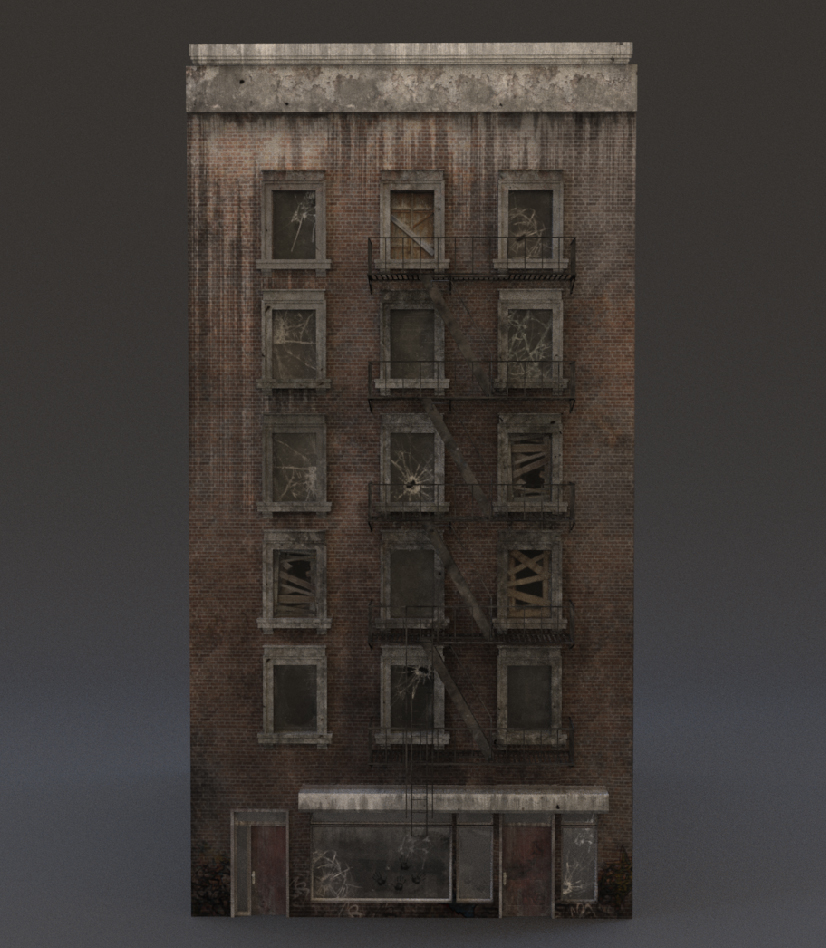
Surfacing is one of the most important aspects in production as it defines the look of the film in its entirety. Accurate surfacing will also add depth and richness into the story, making the world more believable, as well as adding subtle characteristic into the world you are creating. For example, in Thistle One, I knew the setting will be a Post-Apocalyptic world, and the models that I was given are common brick building that you’d find in New York. With that information, I exaggerated the dilapidated look on my texture by adding a huge amount of dirt, dust, graffiti and overall dinginess to create the post-apocalyptic look. I could easily remove some of the dirt and reuse the asset for present day New York environment. The story informs me what kind of details that need to be visible on the surface of the model. The look that we have created on the surface will then inform the audience of the setting of the story.
Research and Observation
It is essential for surfacing artist to be able to recreate the look and feel of an object as close as possible to real life. It doesn’t matter how stylized the movie is, the materials being used are usually based on real objects. A good understanding of how different materials react to light, and how the material feels on touch are important for surfacing artists. Observe your surrounding and see how different objects look and feel different to each other.
Attention to Detail
Every dirt, scratches, stain, and rust that are visible on an object tells a different story. These details provide the audience subtle information regarding the object, whether it’s old, brand new or even broken. Adding details break the symmetry and the perfection of computer generated images that is essential for creating believable world.
Get Dirty!
The most common mistake that I’ve seen in student and beginner 3D artist is that the renders are way too clean and immaculate. Nothing is perfectly clean, shiny and symmetrical in the real world. Don’t be afraid to make your texture dirty and exaggerate the wear and tear. Perfection is overrated.
Placement and Scale
Once we have decided on the details to put into the surface, the most important thing to get right is the placement and the scale of the texture. I see a lot of nicely modeled object with textures that are huge in comparison to the object itself. For example, a nice wooden table model, but the the wood grain is gigantic, as if we are looking at the wood surface under a microscope. Tile your texture, test it out, and make sure that it matches up with the scale of the object.
Another important thing is placing your texture and dirt on the correct places. Although randomness is not a bad thing for breaking up your surface, it is important to consider where the object will be more weathered and scratched, and where would it be more dirty or clean. How do you decide where to place the extra details? Observation and research! Areas that are exposed to light will be more likely to be faded, and area where there’s a lot of friction will more likely to be soft, more glossy and less bumpy.
In my experience, I tend to darken the texture around the bottom of the object, and lighter on top, as it’s usually has more exposure to light that fades the color. I also add a lot of details such as rust and scratches toward the corner or edges of the model, as they usually have more contact with other objects. These rules will differ on different situation, but it is a good starting point to your surfacing works.
Surfacing Tools
There are countless tools and software to get your hands on with surfacing. I personally only use Photoshop (I’m old school!), but I have to say that each tool has their own advantages and disadvantages. Pick one that you are most comfortable with, and spend more time crafting the surface material based on general rules that we have discussed above. Tools can only go as far as your own skillset, it doesn’t magically make your work look better (but it does help to speed up the process), so don’t spend too long on picking the tools, what really matter is your craft in creating high quality and convincing surface materials.
Surfacing Artist should have a good balance of artistic and technical skill. Creating the texture is mostly an artistic experience, while creating the materials and adjusting the shaders’ parameter will get very technical. You should always be in communication with the modeler, lighter, as well as the concept artist to make sure that you get the looks right.
About Michelle
Michelle Wibowo is a 3D Artist based in Jakarta, Indonesia and Graduated from Otis College of Art and Design in 2011 with a BFA in Digital Media. She returned to Jakarta in 2013 after a 2 year stint at a commercial studio in Los Angeles.