What is Modeling?
Modeling is the process of creating a three dimensional representation of any object, from humans and animals to machines and natural environments. In an animated film, all the characters, props, and sets are composed of 3d models. Modeling is in the early part of the production stage of a film, since characters need to be completed before they can be rigged and animated and environments need to be in place to determine the final layout and composition of shots.
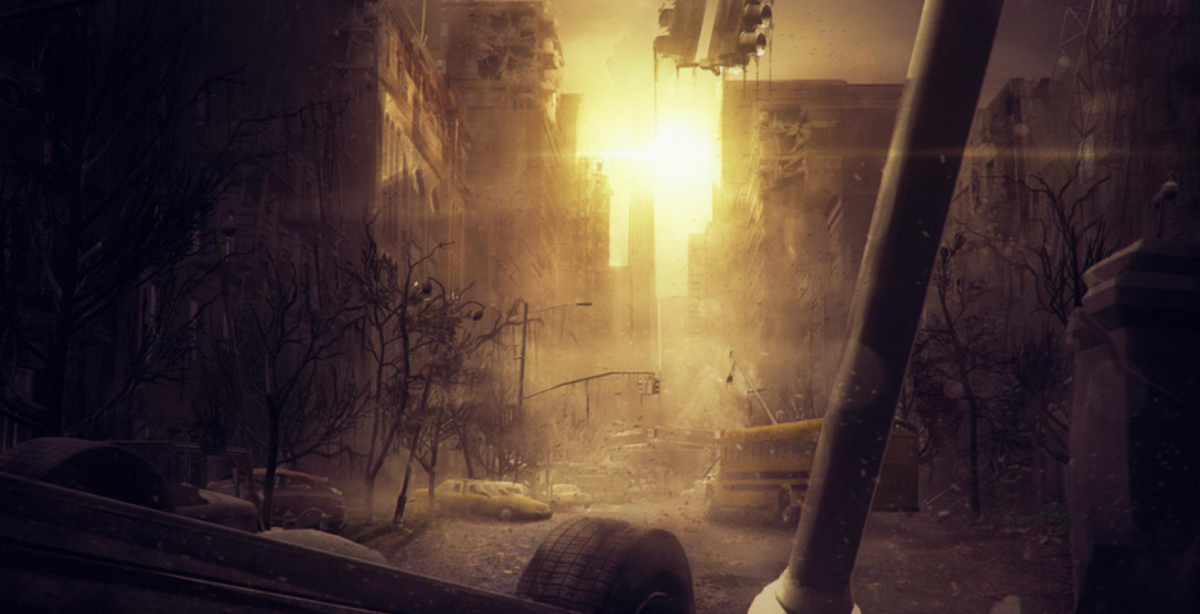
It is important for the models to have appeal. It is of utmost importance that characters look cute, attractive, or alternatively gross and scary depending on what the intent of the work is. Environments need to look beautiful and epic, foreboding and gloomy, or again whatever intent the filmmakers have for them. Props need to look interesting, accurate or once again whatever specific quality the film needs them to be.
2 Key Areas of 3D Modeling: Organic and Hard Surface
- Organic models constitute characters, animals, and even plants and other natural objects in the environment.
- Hard surface modeling comprises human made objects: vehicles, weapons, buildings parts of machines, anything that’s manufacture or constructed.
There is some crossover as hard surface modelers may be more in charge of building environments, even if they are natural locations filled with plants and rocks. Organic modelers will need to use hard surface techniques to create certain parts of a character’s costume. 3D Models are created through a variety of software tools and the available techniques and common practices have changed dramatically the past decade.
Approaches to modeling
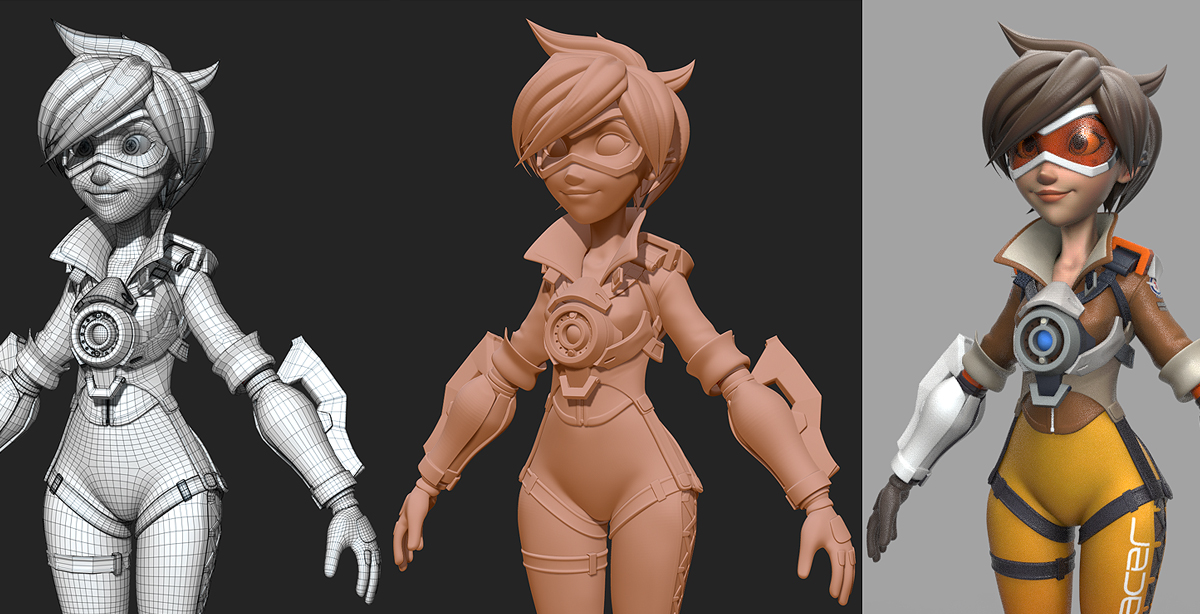
Traditionally, models have been created through a set of processes collectively referred to as “polygon” or “subdivision” modeling. This involves manipulating polygons, infinitely flat geometric planes with 3 or more corners each that combine into a wireframe structure often called a “mesh.”
Subdivision modeling is broken up into different techniques; for example “box modeling” means starting from a primitive object, typically a box or cylinder, and building off it. “Patch” or “edge strip” modeling involves drawing out strips of polygons to form the important parts of a character or object, after which the gaps are filled in.
A model needs good “topology,” meaning an organized wireframe with polygons flowing in the correct way so the model can be deformed for animation purposes. In older subdivision methods like box and patch modeling, the modeler essentially deals with topology and the actual creation of the object all at once. Newer methods of modeling, namely digital sculpting, allow modelers to separate the process out, using a completely different set of tools to work on objects in a manner more similar to traditional clay sculpture. The modeler creates the structure and appearance of the model without dealing with topology using more free-form, artistic tools. Then, a process called “retopology” is used to draw a more organized wireframe over the usually chaotic and dense sculpture. Other techniques, such as solid body modeling in which curvilinear surfaces called NURBS are worked with in place of polygons, can also be used.
Modelers make use of many of the same skills that 2d artists and CG character animators use: observation is a key skill and you need to have a good understanding of anatomy, proportion, form, and shape language. Although sculpting is the discipline closest related to modeling, studying painting, drawing, character design, and animation will improve your skills. The best software for the job is basically “figured out” at this point: It’s easy to determine what to use with some internet searches to see what professionals favor. The best programs and add ons keep getting easier to use, so I would recommend devoting more energy into improving your art fundamentals and taste. As the bar for technological proficiency goes down, the bar for artistic quality goes up.
Target Art and Reference
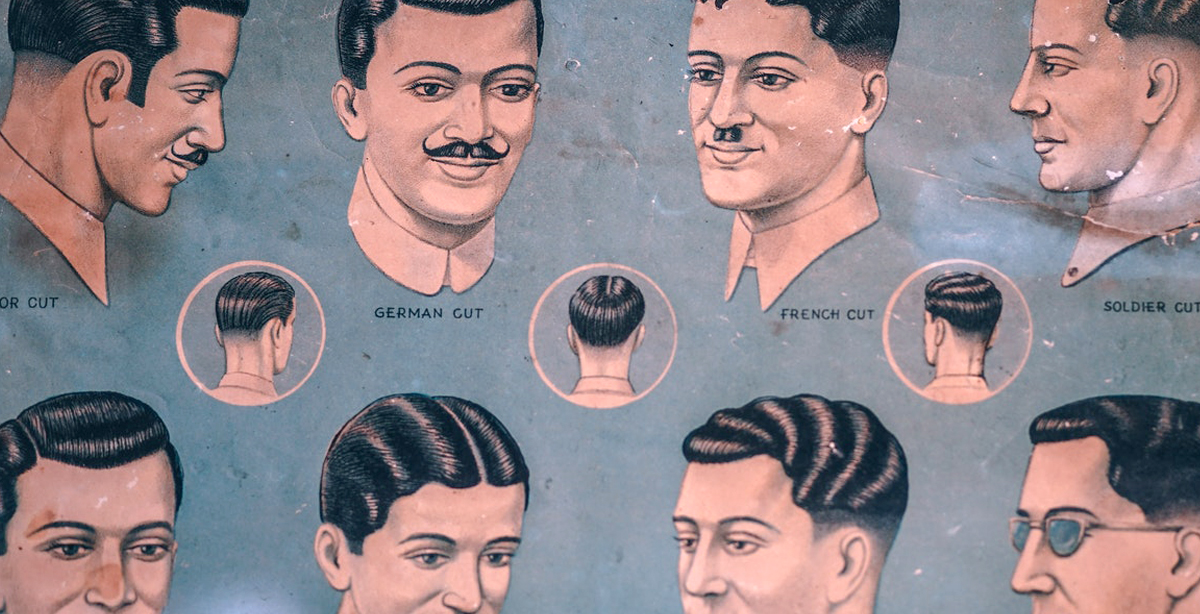
Modelers are typically given concept art and model sheets to start out with. A model sheet should at the very least show the character in a neutral pose from the front, the sides, the back and at a three quarter angle. Model sheets really speed the modeling process, but they may not always be available. A good modeler can still make a character or a prop with only a single three quarter drawing. It’s important to stay on the same page with the concept artists and directors; you should make sure you are clear on the intended style of the concept art. Sometimes rougher art may not make it totally apparent how detailed or accurate a prop is expected to be, for example. Beyond the available concept art, you should use photo reference for any elements you need more clarity on or just to figure out how to actually construct a particular object. Sometimes directors will already have collected a library of photo reference to show exactly what they are looking for.
General to Specific
The most important piece of advice I feel I can give is to get the broad, larger scale shapes and forms correct before you ever work on smaller details. The silhouette, proportions, contours, major shapes, and general forms of a character count for 80% of the work, while the remaining 20% is the detail on top. When working in modern sculpting software you are free to block characters out with extremely simple parts that are easier to manipulate while maintaining clean forms and lines. It’s better to make a very simple, almost blank mannequin and really get all the broad strokes correct rather fixating on sculpting perfect musculature, cloth folds, scars, or greebles up front. A head can be blocked out with a sphere for the cranium, a wedge shape for the jaw, some half ovals for ears, and a box for the nose. A hand can be simplified down to a tweaked box shape with long, tapered boxes for each finger. When working on the hair you can stick a few primitives together or rough out a messy general hair shape to give yourself a support mesh to lay hair strands on later. Small details should not dictate the shape of a character, they need to just happen on the surface and only accentuate the bigger picture. You need a sound, solid structure for the complexity to sit atop.
Think Holistically
Always keep the bigger picture in your mind as you work; how all the elements of a character or a prop relate with one another and combine. You can work for hours trying to get the face perfect by itself, but be aware that the overall shape of a character’s hair frames their face and helps create the specific feel of that particular character’s face. You can work forever on a character’s torso to get the anatomy perfect, but a character’s specific legs, head, arms and the way they look alongside their torso really is what creates the right look. An appealing design works because it has just the right combination of visuals, not just good individual details. A lot of appeal is down to proportion and the interrelation of proportions. For example: the size of eyes compared to the size of the nose and head, the distance between the the eyes, and the distance between the eyes and nose. Don’t get stuck editing from one angle either; always view your character in the round and check extreme low and high angles to ensure everything works together.
Expression and mood are also part of the bigger holistic package. It’s worth playing with expressions and even posture in the middle of the sculpting process to try and get the right feel for the character. If you have to model a character in an expression, do it. You can always straighten things out later. Another part of the bigger picture is how the model is going to look down the road when it’s actually being used rather than being built. I feel it’s worth applying some animator methodology to the sculpting process. Imagine how the character will look when animated as you sculpt it. Line the character up in the same ways an animator would if they were working to camera. Look at how the eyes, nose and mouth “feel” together from a camera shot perspective. Look at the model as a drawing as much as you see it as a 3d form.
Appeal First, Wireframe Later
A character meant for animation needs to be straightened out and retopologized into a more organized mesh for rigging purposes. However, keep in mind that this is something that can always can be done later after the character is complete. You don’t have to box model characters anymore, and you don’t have to let topology dictate how a character looks. The wireframe is very much obscured by color, texture, lighting, shaders, maps, and the subtleties of the sculpt. The topology has to be good to allow for good rigging and animation, but the the same or very similar topological layouts can be applied to almost any character. A google search will give you many topology reference images with the important loops highlighted. Everything is infinitely editable now and we have decades worth of reference and hindsight to establish good practices. On the other hand box modeling is still better for making very simple objects that need to look clean: hard surface costume parts, or certain parts of very simple, stylized characters. It’s best to combine sculpting, box modeling, and even some clever use of both manual and automatic retoplogy tools to get the visual results you want. Use whatever you have to in order to make the model look right.
About Jacob:
Jacob has worked on All Hail King Julien, The Smurfs 2, After The End, and The Ottoman.


